Designed with Computer Aided Design (CAD) software. Hand made In South Carolina, USA.


Material
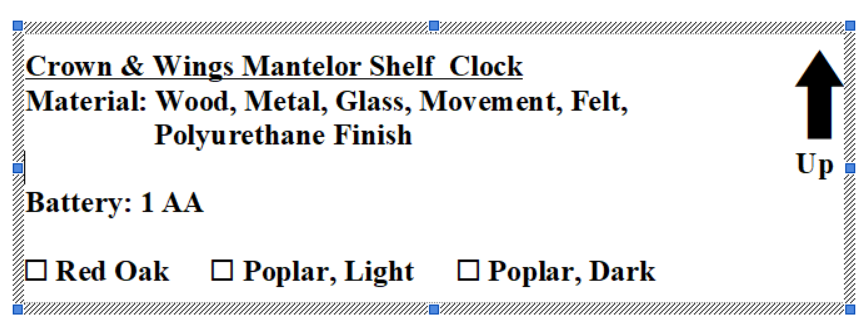
- Approximate Dimensions: 8.0″H x 8.25″W x 2.5″ D
- Wood: 3/8″ Thick, of Poplar or Red Oak.
- 3/32″ Glass
- 6″ Metal Dial
- Q-80 Quartz Clock Movement, 3/16″ Maximum Dial Thickness
- Black Clock hands in 2-1/2″ Spade, 2-1/2″ Serpentine, or 2-5/8″ Sword, Length
- Red 2-1/2″ Second Hand
- Uses one AA-Battery
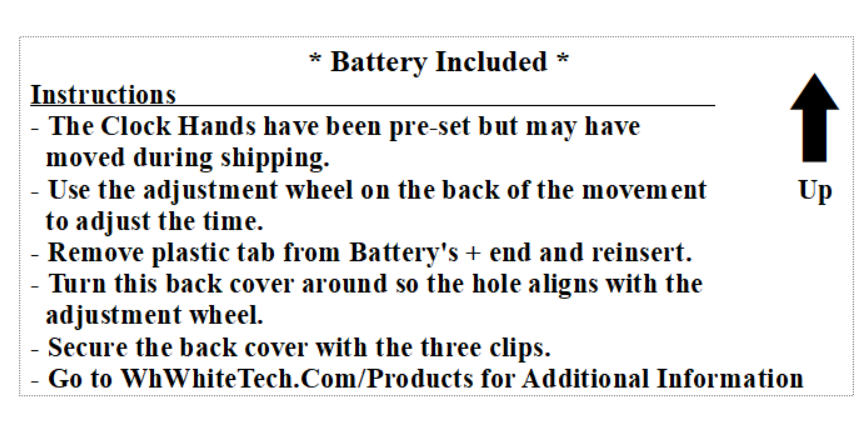
How to Set Up a Clock Movement
Setting up a clock movement should be done before sealing up the clock. This clock is either screwed on from the rear or there are three picture frame clamps on the back side.
1. Secure the movement to the clock face. Do not over-tighten the movement to the dial. Note with the movement there is usually a washer along with the nut. The washer should be large enough to cover the hole in the dial. Use a smooth, preferably new and dedicated, socket to secure the nut on top of the washer.
2. Align the hour hand with the 12 on the clock dial. Push down firmly to seat the hour hand on the plastic shaft.
3. Align the minute hand (longer of the two) with the 12 on the clock dial. Push the hour hand down firmly to seat the hand on the metal shaft, which will still be loose.
4. Take the small nut and secure the minute hand on the metal shaft. Ensure the hands stay aligned with the 12 on the dial while securing the small nut.
5. If using a second hand, go to step 8
6. If not using a second hand, screw the cap nut to the top of the post.
7. This completes the hand mounting without a second hand.
8. Take second hand’s pin with the hole in the top of the shaft and align the second hand with the 12 on the dial. push down firmly to seat the second hand in the hole.
9. Keep the small brass top nut in the event an extra in needed in the future.